NS2 Installation, Guide to Ns2 Installation Procedure,explaining in step by step for better understanding.
Software & OS versions required for Ns2 Installation:
Ubuntu : 12.04.
Ns2 : 2.3x.
(x – Whichever Version u like to install in your computer).

Step by Step Ns2 Installation procedure:
Step1: Go to Ubuntu software center.
Now the Ubuntu software center would open:
Step 2: search gns3 in search option
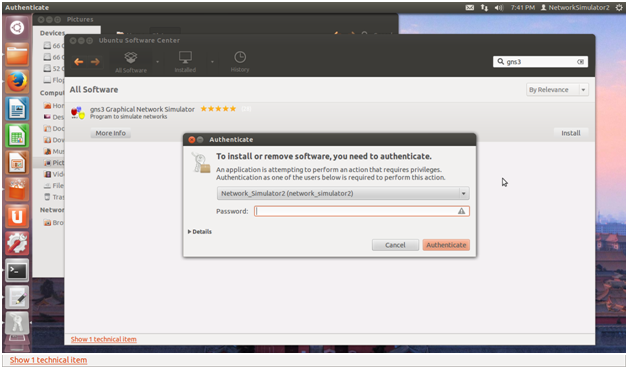
Step 3: install gns3 Graphical network simulator 3 by clicking install button show on right corner of the image.
Step 4: for authentication purpose, it was open password dialog box.
Step 5: after specifying password, gns3 was ready to install
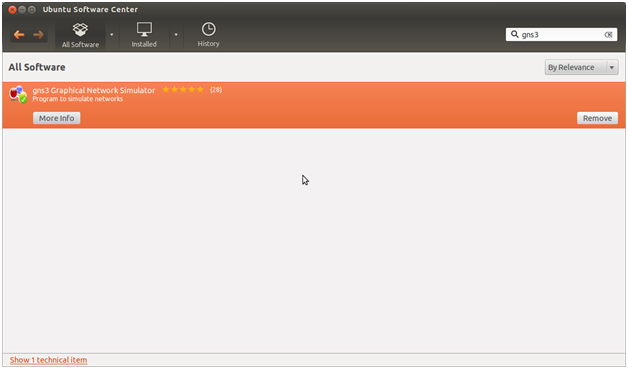
After successful completion of installation of gns3, it was change into remove.
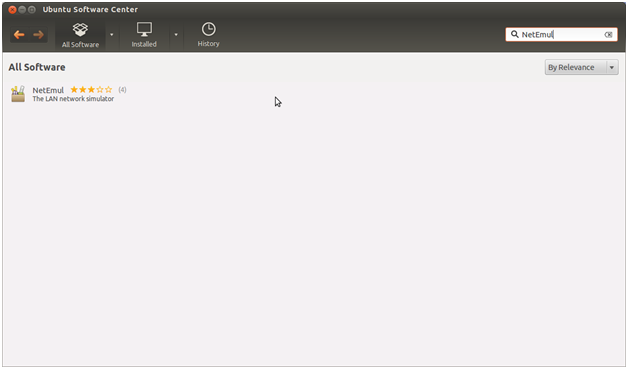
Step 6: Type NetEmul in search button of Ubuntu software center.
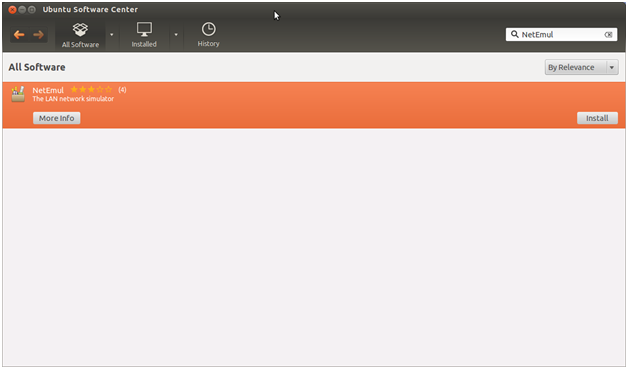
NetEmul would be opened. And click install button present in the right corner of page.
Step 7: enter system password open in the dialog box.
Now the NetEmul package was installed.
After successful installation of NetEmul package, it was changed into remove.
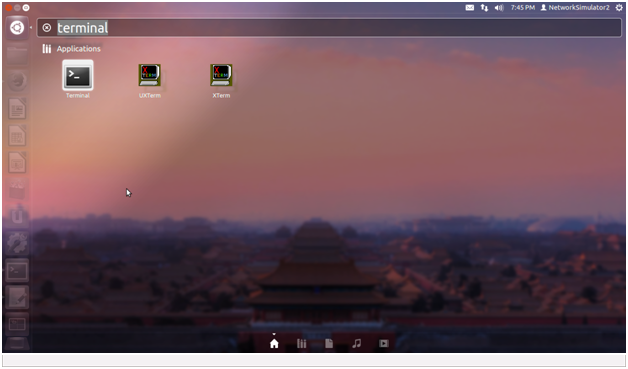
Step 8: go to dash home
Step 9: enter terminal for open the terminal otherwise by using the shortcut (ctrl+Alt+T) to open the terminal
Now the terminal was opened.
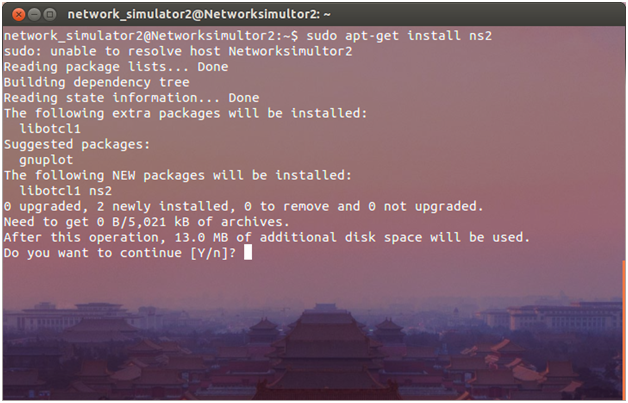
Step 10: For installing ns2 enter the command: sudo Apt-get install ns2
During installation process it’ll ask system password, after that ask yes/no question
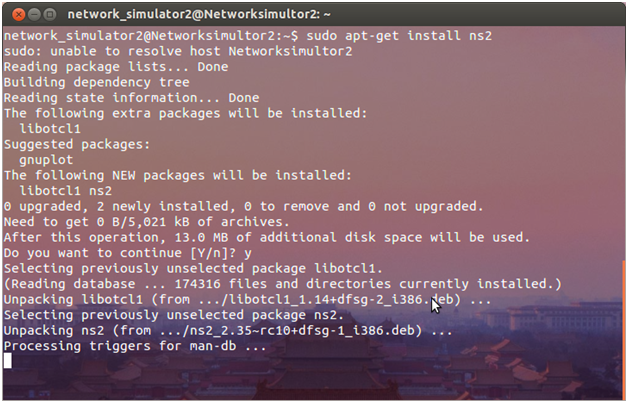
Step 11: enter y for continue installation
Ns2 was successfully installed.
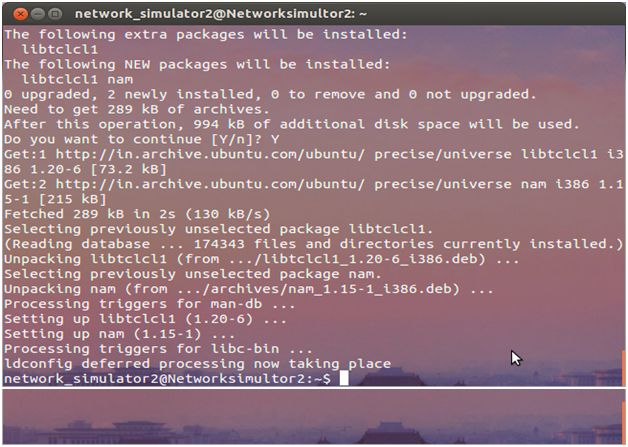
Step 12: install nam use the command as: sudo apt-get install nam
Step 13: it was also ask yes/no question.
Step 14: Enter y for successful installation
Step 15: installation was started
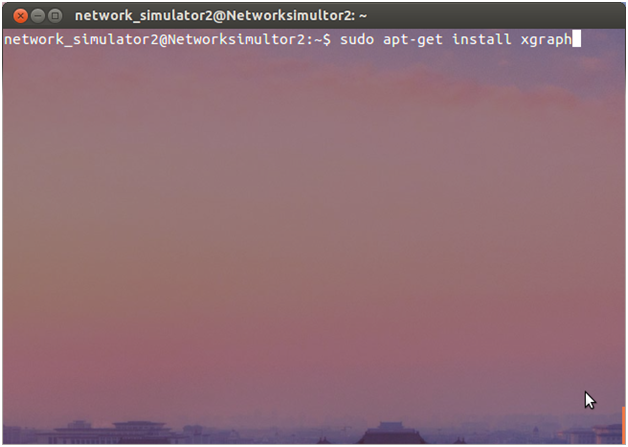
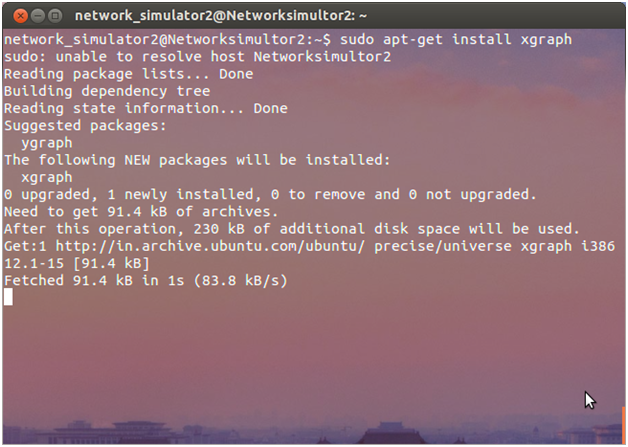
Step 16: install xgraph using command: sudo apt-get install xgraph


